Sunday, February 18, 2018

A First Go with Noodlehead's Market Bag

Friends, I had the best of intentions of posting a new tutorial for my Still Pretty Simple Jelly Roll Quilt this past week. It was going to be a Valentine’s gift for those of you who come back to From Bolt to Beauty post after post. (Bless your sweet, quilt-loving hearts!) Then non-quilting life got in the way and my sewing priorities changed. Boo!

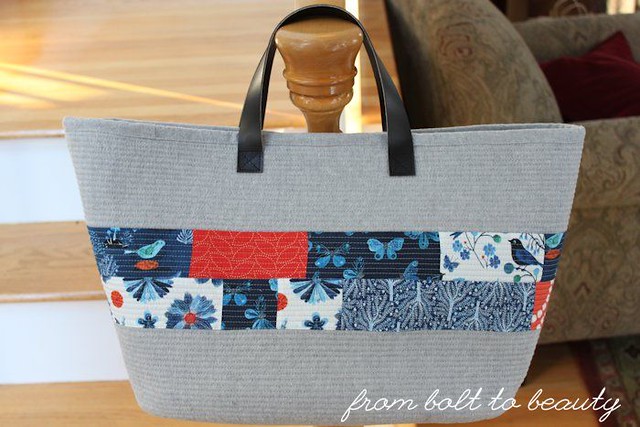
In the meantime, I’m going to catch you up on some yet-to-be-blogged about 2017 finishes—like this, the Market Bag I made for my sister ...


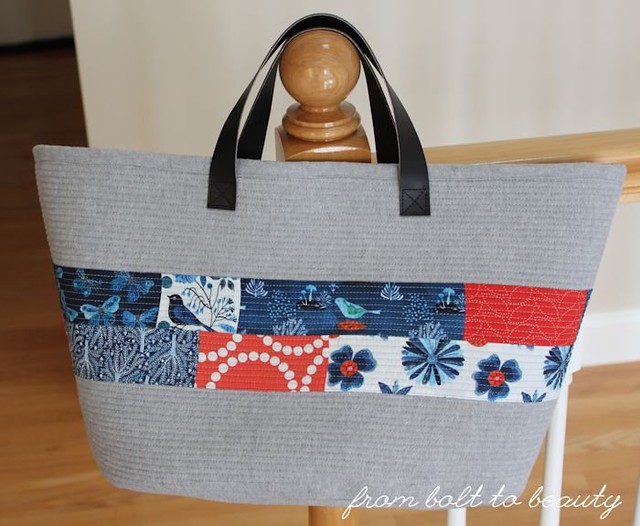
This is the first project I’ve made from Handmade Style, by Anna Graham of Noodlehead. In general I tend to approach patterns with a wary heart. In a time when anyone with a word-processing program and basic graphic design knowledge can churn out patterns, I’ve been burned by inaccurate material lists or less-than-stellar directions. But Anna I trust 100%, and this pattern only bolstered her reputation with me.

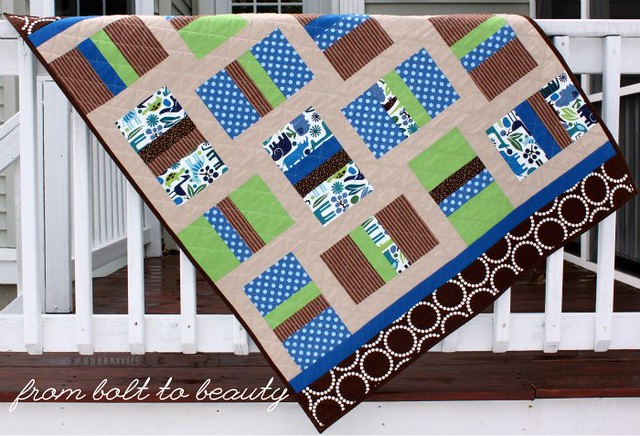
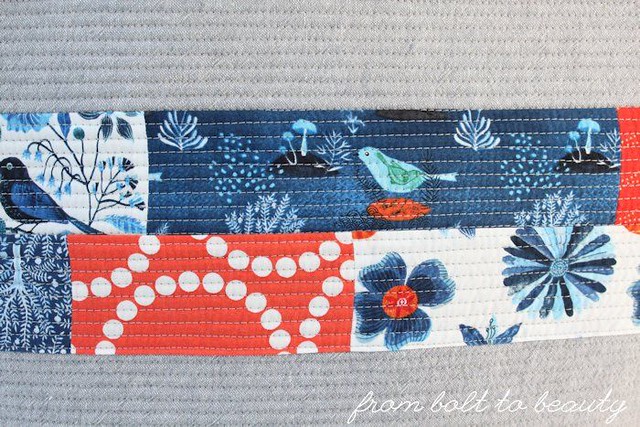
This bag is my style—roomy without cluttering things up with a lot of pockets. (I can sew pockets just fine, but I’m not good at using them.) I used up bits left over from this quilt, which makes me especially happy. Those birds and flora look so good together.


I really enjoyed constructing this bag and foresee making another one (number 2 will be for me!), but I have a few notes for my future self before she starts sewing:
  • I may have lost some width and/or height on the exterior of this bag after quilting—I don’t know for sure because it didn’t occur to me to measure. Next time, future self, consider quilting slightly larger front and back panels first and then cutting the exterior down to size. You’ll waste some ByAnnie’s stabilizer in the process, but it will be OK. Promise.
  • The lining on this first bag ended up rather bulky, and I wasn’t pleased with how it fit into the exterior. I suspected that would be the case as I progressed with the project, but I was under the gun time-wise and just ran with it. I highly suggest that my future self take her time and get the fit she wants. This may include cutting down the lining considerably (Elisabew recommends lopping off a full 1.75 inches!) and/or not interfacing the lining. 
You might think that those kinks would dissuade me from embarking on this pattern again, but they don’t. (And my sister seemed really pleased with the bag.) I enjoy figuring out bag patterns and then making them a little better on the second go-round. The question, as always, is when I can find the time to make one again. Hopefully, it will happen before this experience fades too far into my memory!

Linking up to Let’s Bee Social, Needle and Thread Thursday, and Finish It Up Friday ...
Follow on Bloglovin

Thursday, February 1, 2018

The Thrill of a Finish

My new year started with a bang—and that bang was the sound of me, at 8 a.m. on January 2, backing my minivan into my sister’s car. I didn’t have any grand expectations for 2018, but starting off with a thousand dollars in car repairs was something I would have preferred to avoid. : /

This event affected my crafty to-do list. I needed to feel competent at something, so instead of starting a new project, I opted to finish up some stragglers from 2017. I needed the thrill of a finish, friends! I pieced a quilt top and two backs for my guild, and passed those projects to a guildmate for quilting. Then I moved on to this baby quilt, which I had started back in October ...


There is something about me and small projects, whether they’re quilts or pouches or baskets: I’m notorious for making more than 1 (and up to 15!). This simple baby quilt is no exception. It’s the foil to this finish. Both use the Little Man pattern from Simplify by Camille Roskelley.

The beauty of this project was that the inspiration for the palette came from that old Alexander Henry 2D Zoo print. I only had scraps of that fabric left, which was just fine because the pattern didn’t call for any more than that. Everything else came from my stash, including the Yale Blue Free Spirit solid featured on the back. It was one of those not-so-smart fabric purchases—both considering the color and the amount of yardage I bought—from my early days of quilting. I was happy to use it up in this baby quilt.


A triumph with this project and its lookalike is that I made franken batting for the first time! I cut clean, straight edges off of batting scraps, abutted edges, and sewed them with a zigzag stitch. Those scraps were all at least 12 inches wide, they were the same brand and type of batting, and they were all prewashed (because I’m the only person in the world who prewashes her batting!). I figured if I quilted densely enough—the grid here is quilted every 2 inches—the franken batting wouldn’t affect the integrity of the final product. It takes some time to piece batting scraps together, but it feels good to put them to good use.


Have you cobbled your batting scraps together like that? Any words of warning on that front? And to those of you who don’t quilt on a domestic: Would you ever use franken batting on your longarm?

Linking up to Finish It Up Friday and Let’s Bee Social ...

Follow on Bloglovin